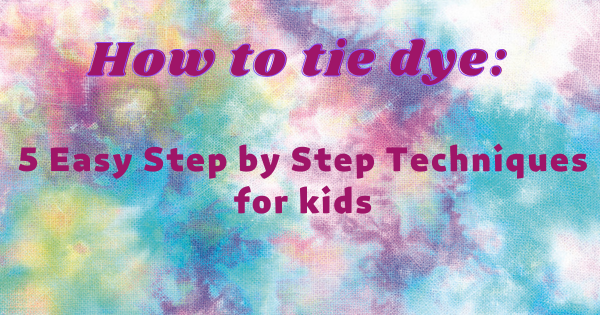
Feel like doing some crafts or doing a fun activity with the kids? It’s time to add some colour to your days with a step-by-step Tie-dye activity. This activity is great to do with children and is the perfect activity for the holidays.
Tie-dye” is a very old technique, originating in China and Japan, which became popular in the 1970s. Today it is fashionable again!
We will teach you step by step 5 techniques and tie-dye patterns that you can make very easily. We suggest that you use natural fibre fabrics (such as cotton) and opt to dye light coloured pieces, such as the cloth bag included in the Science4you Fashion Design Kit.
You will need:
- Dyes of various colours;
- Elastic bands;
- Pasteur pipettes;
- Gloves;
- Zip-lock bag;
- Wooden stick
- Light cloth (t-shirt, cloth, etc.)
- Large plate or tray.
Step by step:
Step 1: Put on the gloves;
Step 2: Moisten the fabric! It helps to shape it and spread the dyes.
Step 3: Place your fabric on the plate or tray and get creative exploring the various patterns;
Crumpled tie-dye effect
Step 4: Knead your fabric until you form a “little mound”, in a circular shape. As if it were, for example, a piece of paper. The more creases you have, the more patterns you’ll get.
Step 5: Fasten the crumpled bag with 4 elastic bands so that you have a few ribbons. Paint the buds different colours with the help of the pipettes. Turn the fabric upside down and dye again. Use the same or other dyes, per bud.
Spiral tie-dye effect
Step 4: Place the wooden stick in the centre of the bag and start twisting the bag around it. Continue twisting until you form a spiral-shaped mound. Then fasten the bag with 4 elastic bands.
Step 5: Attach the squashed bag with 4 elastic bands so that you have a few ribs. Use the pipettes to colour the ribs in different colours. Turn the fabric upside down and dye again. Use the same or other dyes, per bud.
Horizontal or Vertical tie-dye stripes?
Step 4: For vertical stripes fold the fabric from top to bottom. For horizontal stripes fold the fabric from right to left, similar to the bellows of an accordion.
Step 5: Fold the fabric into a block shape and place some elastic bands around it.
Tie-dye bullseye effect
Step 4: With the damp fabric stretched out, pull it in the centre until it looks like a block. Place as many elastic bands as needed to hold the fabric together.
Step 5: On a large plate, use the dyes to dye each corner as you wish. Each bud corresponds to a circle.
Tie-dye sunburst effect
Step 4: With the damp fabric stretched out, pull out a 2 to 3 cm piece and tie it tightly with a rubber band; repeat the previous step, depending on the number of sun rays you want to obtain.
Step 5: In a large dish, add the dye, at your will, on each fabric tip, with the Pasteur pipettes.
**
The following steps are common to all techniques.
Step 6: Place the fabric in a zip-lock bag for 6 to 8 hours. The zip-lock bag keeps the humidity in, allowing the dyes to spread.
Step 7: Remove the fabric from the zip-lock bag and remove the elastic bands. Let it air dry a little longer.
Get inspired by these techniques to use and abuse tie-dye this summer. You can get creative and create your own techniques too. In the Fashion Design Tie-dye kit from Science4you you have everything you need to get started.